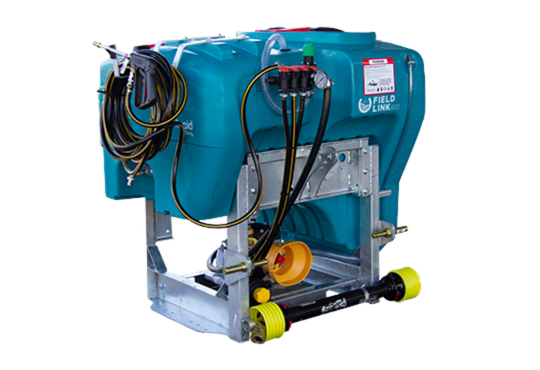
Watch the video on how to cut your PTO shaft.
WARNING: : Do not operate the tractor PTO until correct fitting has been checked. Doing so will damage your pump and tractor. This will also void your warranty.
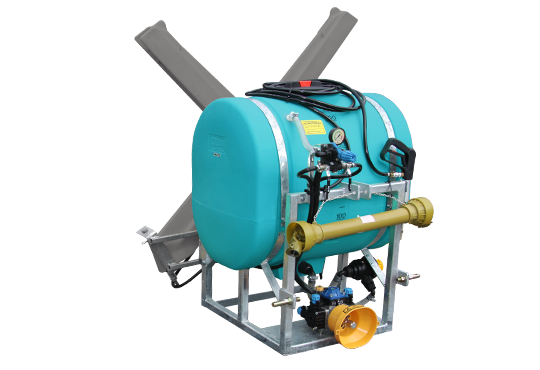
While the exact steps might vary depending on your specific tractor model, here’s a general guide for hooking up a 3-point sprayer:
- Lower the Lift Arms: Park your tractor on level ground and engage the parking brake. Lower the tractor’s hydraulic lift arms (also sometimes called hitch arms) completely.
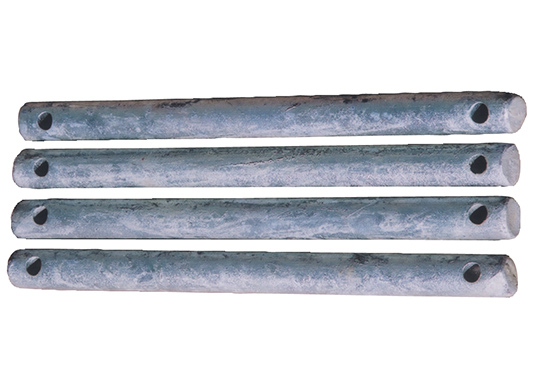
- Attach Lower Link Arms: Connect the lower link arms of the 3-point sprayer to the corresponding points on your tractor’s lift arms. These connection points typically use pins and clevises.
- Connect Top Link Arm: Locate the top link arm on the sprayer and connect it to the top link attachment point on your tractor. There may be an adjustable turnbuckle on the top link for fine-tuning the sprayer’s position.
- Hydraulic Hoses: Connect the hydraulic hoses from the sprayer to the corresponding hydraulic ports on your tractor. These hoses typically control functions like the pump and boom movement.
- Raise the Lift Arms: Once everything is securely connected, slowly raise the tractor’s hydraulic lift arms to lift the sprayer off the ground. Double-check all connections and for any leaks before starting spraying operations.
Important Note: Always refer to your tractor’s user manual and the specific instructions for your Rapid Spray linkage sprayer model for detailed and accurate hook-up procedures. For safety reasons, it’s recommended to have someone assist you when connecting the sprayer for the first time.